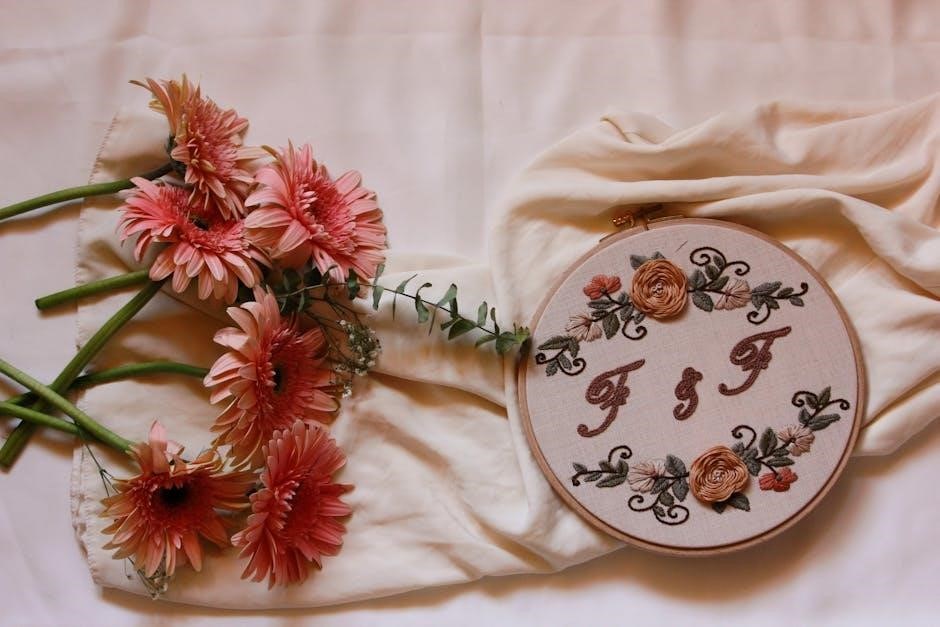
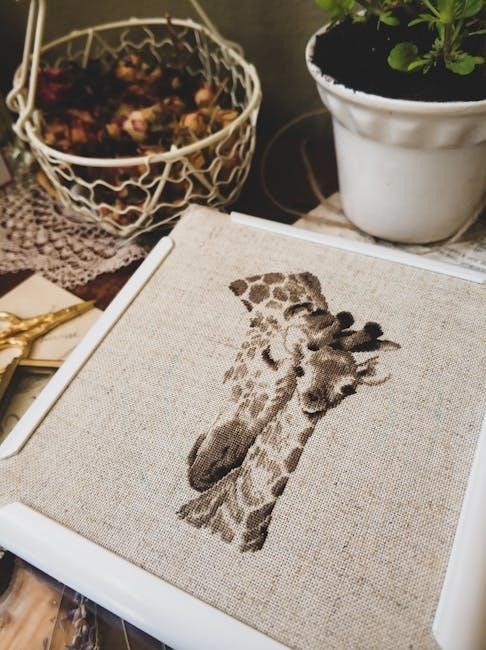
What is Needlepoint?
Needlepoint is a traditional form of canvas embroidery, creating intricate designs using thread and yarn on a mesh canvas. It combines creativity with relaxation.
Originating in ancient civilizations, needlepoint evolved through centuries, becoming a popular pastime in Victorian England. It remains a cherished craft, blending artistry with practical skills.
Stitching promotes relaxation, improves dexterity, and fosters mindfulness. It offers a meditative escape, allowing creators to produce beautiful, lasting pieces for personal enjoyment or gifts.
What is Needlepoint?
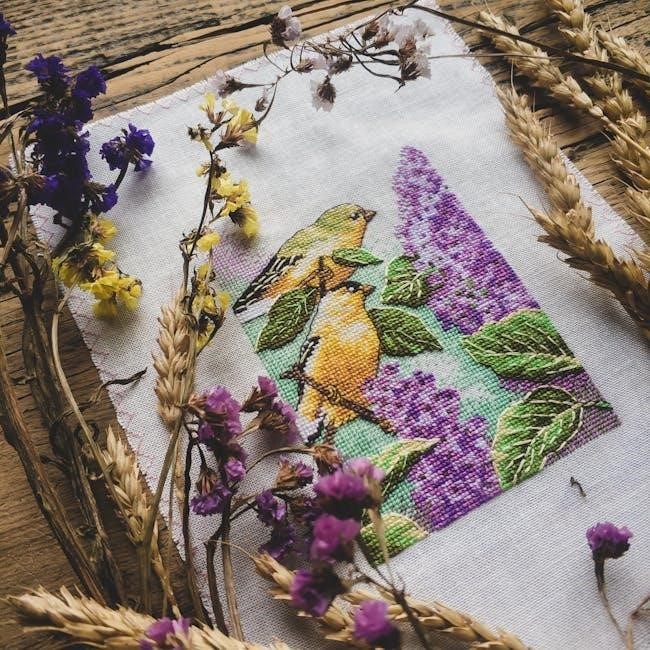
Needlepoint is a traditional form of canvas embroidery that involves stitching threads or yarns onto a mesh canvas to create intricate designs. It is a versatile craft used for decorative items like cushions, rugs, and wall art, requiring basic tools like a needle, thread, and a frame. This art form combines creativity with precision, offering a rewarding and meditative activity for crafters of all skill levels.
History and Evolution
Needlepoint traces its origins to ancient civilizations, where stitched animal hides created durable tent fabrics. By the Middle Ages, it became a popular craft in Europe. The Victorian era saw its rise as a leisure activity, with intricate designs and techniques flourishing. This timeless art has evolved, blending traditional methods with modern creativity.
Benefits of Needlepoint Stitching
Needlepoint stitching offers a meditative escape, improving focus and reducing stress. It enhances hand-eye coordination and dexterity while fostering creativity. The process of creating something tangible provides a sense of accomplishment and joy, making it a rewarding hobby for craft enthusiasts seeking relaxation and artistic expression.
Essential materials include sturdy canvas, high-quality threads (wool, cotton, silk), blunt-tipped needles, and scissors. Optional tools like stretcher bars and frames enhance stitching comfort and canvas stability.
Canvas Types and Sizes
Needlepoint canvas comes in various mesh sizes (12, 14, 18 count) and materials (cotton, polyester). Sizes range from small ornaments to large furniture covers, offering flexibility for projects of all scales.
Threads: Wool, Cotton, Silk, and Novelty Yarns
Threads for needlepoint include wool, cotton, silk, and novelty yarns. Wool is durable and vibrant, while cotton is soft and versatile. Silk adds luxury, and novelty yarns introduce unique textures, enhancing the visual and tactile appeal of stitching projects.
Materials Needed for Needlepoint
Needles and Other Tools
Needlepoint requires specific tools like tapestry needles for stitching and beading needles for intricate details. Scissors, embroidery hoops, and stretcher bars help maintain canvas tension. Thimbles and magnifying glasses can aid precision, while stitch guides and charts ensure accuracy, making the stitching process efficient and enjoyable.
Basic Needlepoint Stitches
Mastering basic needlepoint stitches like Tent Stitch and Basketweave Stitch is essential. These stitches form the foundation for more complex designs, ensuring even coverage and canvas stability.
The Tent Stitch is the most basic needlepoint stitch, ideal for beginners. It involves inserting the needle diagonally forward, creating a smooth, textured surface. Perfect for filling large areas or creating backgrounds, it’s simple yet effective for achieving even coverage without distorting the canvas. Use it in a “basketweave” manner for added stability.
Basketweave Stitch Technique
The Basketweave Stitch involves alternating the Tent Stitch direction in adjacent rows, mimicking the look of woven baskets. This method minimizes canvas distortion and prevents thread tension issues, making it ideal for large areas. It ensures a smooth, even surface while maintaining the integrity of the needlepoint fabric, enhancing durability and appearance.
Other Fundamental Stitches
Beyond Tent and Basketweave, essential stitches include the Half Cross, Continental, and Bullion Knot. The Half Cross Stitch is versatile for details, while the Continental Stitch works well for backgrounds. Bullion Knots add texture and dimension, enhancing design elements. These stitches diversify your toolkit, enabling intricate and varied needlepoint creations with precision and flair.
Advanced Stitches and Techniques
Advanced stitches like French Knots and Chevron add intricate texture and dimension. Combining multiple stitches and incorporating special effects enhances complexity and visual interest in designs, pushing creativity further.
French Knots and Chevron Stitches
French Knots create textured, raised details, adding depth to designs, while Chevron Stitches form dynamic, angled patterns. These techniques add intricate texture and dimension, enhancing visual interest in needlepoint projects, pushing creativity further with their versatility and aesthetic appeal, making them essential for advanced stitching projects.
Using Multiple Stitches in One Design
Combining different stitches in a single design enhances visual interest and texture. By blending techniques like Tent Stitch with French Knots or Chevron Stitches, creators achieve dynamic, layered effects while maintaining harmony in their work, allowing for personalized and intricate needlepoint artistry. This approach expands creative possibilities and adds complexity.
Incorporating Special Effects
Special effects in needlepoint, such as layering threads, metallic yarns, or beads, add depth and visual appeal. Techniques like shading and textured stitches create dimension. These elements transform designs, offering a professional finish and enhancing the overall artistic impact without compromising stitching simplicity.
Reading Needlepoint Patterns
Stitch symbols guide you through patterns, indicating where and how to place each stitch; Familiarize yourself with common symbols to decode designs accurately.
Counting threads ensures precise stitching. Align your canvas mesh with the pattern, matching threads to maintain symmetry and achieve the desired visual outcome.
Color charts map thread colors to specific areas. Use them to select the right yarns, ensuring your project reflects the intended hues and shading.
Understanding Stitch Symbols
Stitch symbols are visual guides in needlepoint patterns, indicating specific stitches and their placement. They help you decipher where and how to apply each stitch, ensuring accuracy. Mastering these symbols is key to interpreting designs correctly and achieving professional results in your stitching projects.
Counting Threads for Accuracy
Counting threads ensures precise alignment with the canvas mesh, maintaining design integrity. Accurate thread counting prevents errors and wasted materials. Regularly tracking your thread usage helps manage supplies and achieve consistent stitching quality, crucial for professional-looking needlepoint projects.
Interpreting Color Charts
Color charts guide thread selection by mapping yarn colors to canvas shades. Each code corresponds to specific hues, ensuring consistency. Study symbols and codes to match yarns accurately. This helps maintain design integrity and achieves the desired visual effect, especially when substituting threads or adjusting color schemes for personal preference or availability.
Tips for Selecting the Right Stitches
Selecting the right stitches involves careful consideration of design elements, thread types, and canvas mesh size. Balance stitch complexity with project goals for a polished finish and visual harmony.
Choosing Stitches for Different Design Elements
For backgrounds, opt for simple stitches like Tent or Basketweave to avoid overshadowing focal points. Details and textures benefit from intricate stitches such as French Knots or Chevron, enhancing visual interest. Consider thread weight and color to ensure elements harmonize, creating a balanced and visually appealing design.
Considerations for Canvas Mesh Size
Canvas mesh size impacts stitch visibility and ease. Larger meshes (7 or 10) suit bold designs and quicker stitching, while smaller meshes (14 or 18) offer finer details but require more precision. Choose mesh size based on design complexity, thread type, and desired texture to ensure optimal stitching results and visual appeal.
Harmonizing Thread Colors and Textures
Harmonizing thread colors and textures enhances needlepoint designs. Pair complementary hues for visual balance, and mix textures like wool, silk, and novelty yarns to add depth. Consider color charts and stitch guides for inspiration, ensuring threads blend seamlessly to achieve the desired aesthetic and dimensional effect in your project.
Common Mistakes and How to Avoid Them
Common mistakes include thread breakage, uneven tension, and canvas distortion. To avoid these, use high-quality threads, maintain consistent stitching pressure, and regularly stretch the canvas evenly.
Preventing Canvas Distortion
To prevent canvas distortion, use a sturdy frame or stretcher, maintain even thread tension, and avoid pulling threads too tightly. Regular stretching ensures the canvas stays taut, promoting even stitching and a professional finish. Handling the canvas gently and storing it properly when not in use also helps maintain its shape and integrity.
Avoiding Thread Tension Issues
Maintain consistent thread tension by using a single strand and keeping the needle straight. Avoid pulling threads too tightly, as this can cause puckering. Gently tug the thread to settle it into the canvas. Even tension ensures smooth stitching and prevents distortion or misalignment in your needlepoint design.
Correcting Stitching Errors
Identify mistakes early by gently removing stitches without damaging the canvas. Use scissors to cut incorrect threads, then re-stitch carefully. Regularly inspect your work to catch errors before they escalate. Maintain a steady hand and use the right needle size to ensure precise corrections and a flawless finished design.
Finishing Techniques for Needlepoint Projects
Finishing enhances your needlepoint’s appearance by adding edging, mounting, or framing. Proper techniques ensure durability and a professional look, transforming your stitched canvas into a polished masterpiece.
Framing and Mounting Your Work
Framing and mounting your needlepoint project enhances its presentation and preserves its quality. Stretch the canvas tightly, secure it with sturdy adhesive, and use acid-free materials to prevent damage. Choose a frame that complements the design, and consider UV-protective glass to safeguard the stitches. Professional framing ensures a polished, lasting display of your artwork.
Adding Edging and Borders
Adding edging and borders to your needlepoint project enhances its visual appeal and provides a polished finish. Use complementary colors and patterns to frame your design without overwhelming it. Popular stitches for borders include the Whipstitch or Blanket Stitch, ensuring a clean, professional edge that complements your artwork beautifully.
Professional Finishing Tips
For a polished finish, ensure tight stitching and trim excess thread. Block your work to maintain shape and prevent distortion. Use high-quality materials and consider professional framing or mounting. Attention to detail in finishing enhances the overall quality and presentation of your needlepoint project, making it truly professional.
Resources for Needlepoint Enthusiasts
Explore essential needlepoint guides offering step-by-step tutorials, stitch techniques, and design inspiration. Books and online resources provide comprehensive insights for both beginners and advanced stitchers.
Recommended Books and Guides
Discover comprehensive needlepoint guides offering detailed stitch tutorials, project ideas, and expert tips. Books like The Needlepoint Book provide in-depth coverage of materials, techniques, and design inspiration. Online guides and stitch dictionaries further enhance learning, catering to both beginners and advanced enthusiasts.
Online Communities and Forums
Join online forums and communities to connect with needlepoint enthusiasts, share ideas, and troubleshoot challenges. Platforms like StitchGuides Forum and Needlepoint Enthusiasts on Facebook offer invaluable resources, tutorials, and inspiration. Engage with experienced stitchers, learn new techniques, and gain confidence in your stitching journey through collaborative support and shared knowledge.
Video Tutorials and Classes
Enhance your needlepoint skills with video tutorials and online classes. Platforms like YouTube, Craftsy, and Etsy offer step-by-step guides for various stitches and techniques. These resources provide visual demonstrations, helping you master everything from basic tent stitches to complex designs. Perfect for visual learners, they make mastering needlepoint accessible and enjoyable.
Troubleshooting Common Issues
Handle threads gently to avoid breaks. Use high-quality materials and maintain steady tension. Regularly trim loose ends to prevent tangles and ensure smooth stitching.
Dealing with Thread Breakage
Thread breakage can disrupt your stitching flow. To minimize this, use high-quality threads and handle them gently. Avoid excessive tension, as it strains the thread. Regularly trim loose ends and consider using a thread conditioner to reduce friction. If a break occurs, secure the remaining thread and rethread carefully to maintain pattern continuity.
Fixing Canvas Imperfections
For wrinkles or unevenness, gently iron the canvas from the back. Avoid direct heat on stitched areas. For stubborn creases, use a damp cloth and iron on low heat. If canvas is loose, tighten it on stretcher bars. For serious damage, consult a professional. Regularly inspect and store canvas properly to prevent issues.
Resolving Stitching Inconsistencies
Identify mistakes early to prevent further complications. Use a tapestry needle to carefully remove incorrect stitches without damaging the canvas or surrounding threads. Rewrite the affected area, ensuring alignment with the pattern. Maintain consistent stitch size and tension for a professional finish. Regularly inspect your work to catch inconsistencies early.
Congratulations on completing the guide! Continue practicing to refine your skills. Explore advanced projects and techniques to expand your creativity. Stay inspired and enjoy your stitching journey.
Encouragement for Continued Practice
Embrace needlepoint as a lifelong hobby, celebrating small victories and enjoying the creative process. Each stitch brings you closer to mastering techniques and crafting beautiful pieces. Stay motivated, experiment with new designs, and cherish the meditative joy of stitching. Remember, every project tells a story of growth and artistry.
Exploring Advanced Projects
Advanced needlepoint projects offer the chance to explore intricate designs, complex stitches, and creative techniques. Experiment with shading, layering, and special effects to add depth to your work. Start with smaller, detailed pieces before tackling larger, elaborate designs. Mastering advanced stitches and techniques will enhance your skills and expand your artistic possibilities.
Staying Inspired in Your Stitching Journey
Stay inspired by exploring new stitches, techniques, and projects. Join online communities, watch tutorials, and share your work with fellow enthusiasts. Reflect on your progress, celebrate small victories, and embrace the meditative joy of stitching. Let your creativity flow, and allow each project to spark new ideas and passion for the craft.