How to Install a Kitchen Tap: A Step-by-Step Guide
Install a kitchen tap by turning off the water supply‚ using a spanner to loosen old nuts‚ and disconnecting water lines․ Clean the area‚ then fit the new tap‚ ensuring proper alignment and secure tightening․ Follow manufacturer instructions for final connections and testing․
1․1 Tools and Materials Needed for Installation
To install a kitchen tap‚ you’ll need essential tools like a spanner‚ adjustable wrench‚ and screwdriver․ Materials include Teflon tape‚ plumbing fittings‚ and replacement washers․ Ensure you have a bucket to catch water and a cloth for drying․ Additional items may vary depending on your tap type and existing plumbing setup․
1․2 Step-by-Step Instructions for Fitting a Kitchen Tap
Start by turning off the water supply and draining the pipes․ Use a spanner to loosen the nuts securing the old tap․ Disconnect the water supply lines and remove the tap․ Clean the sink area thoroughly․ Mount the new tap‚ ensuring proper alignment․ Secure it with nuts‚ tighten firmly‚ and reconnect water lines․ Turn on the supply and check for leaks before testing the tap․
1․3 Common Mistakes to Avoid During Installation
Common mistakes include forgetting to turn off the water supply‚ which can lead to flooding․ Incorrect alignment of the tap may result in leaks․ Over-tightening nuts can damage the sink or tap․ Using incorrect tools may strip screws․ Failing to test the tap after installation can leave hidden leaks․ Always follow manufacturer instructions and double-check connections to ensure a secure and leak-free fitting․
Bathroom Tap Installation: Tips and Tricks
Ensure the water supply is off‚ use a spanner to remove the old tap‚ and disconnect water lines․ Clean the area thoroughly before fitting the new tap‚ ensuring proper alignment and compatibility with your plumbing system for a smooth installation process․
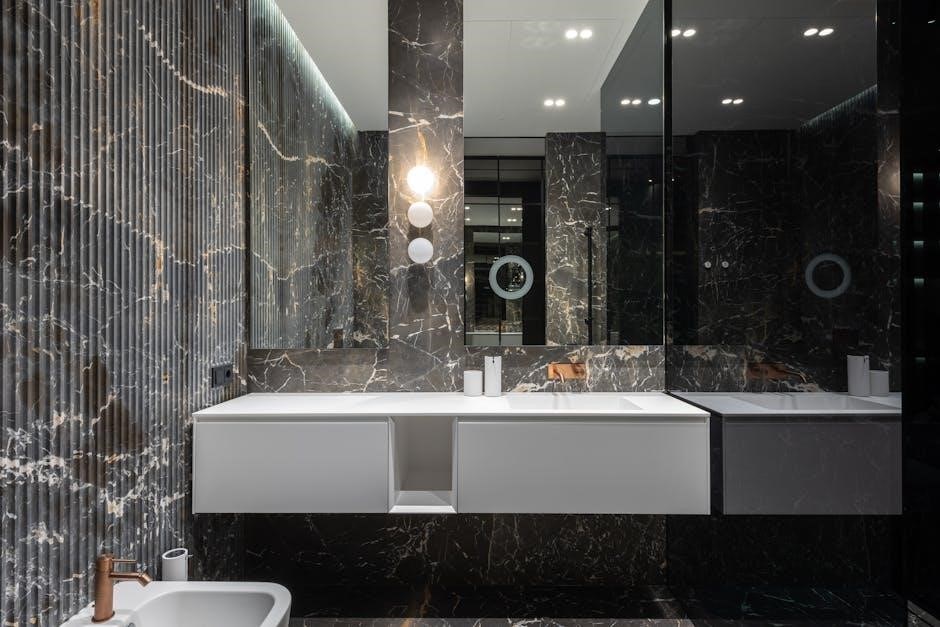
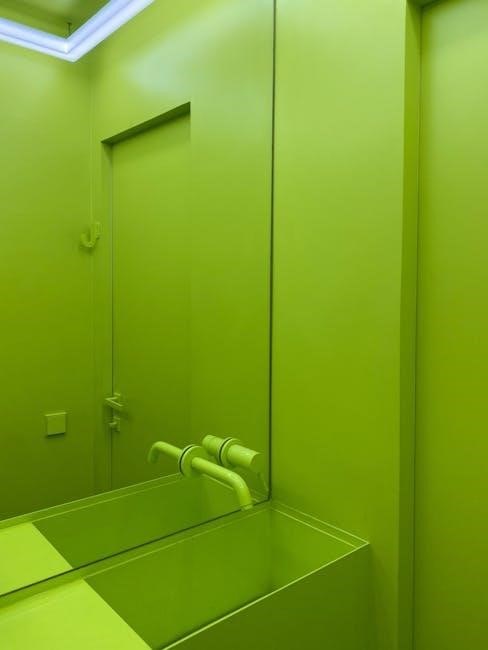
2․1 Understanding Different Types of Bathroom Taps
Bathroom taps come in various styles‚ including wall-mounted‚ freestanding‚ and countertop options․ Consider factors like water pressure‚ plumbing compatibility‚ and personal preference when choosing․ Finishes such as chrome‚ brushed nickel‚ or gold can enhance aesthetics․ Some taps feature flow control or temperature mixing for improved functionality․ Selecting the right type ensures a perfect match for your bathroom design and needs․
2․2 How to Replace an Old Bathroom Tap
To replace an old bathroom tap‚ start by turning off the water supply and draining the system․ Use a spanner to loosen the nuts securing the old tap․ Disconnect the water supply lines and remove the tap․ Clean the area before fitting the new tap‚ ensuring proper alignment․ Tighten the mounting nuts securely and reconnect the water lines․ Test the tap for leaks before finalizing the installation․
2․3 Ensuring Proper Plumbing Connections
Ensure proper plumbing connections by using the correct materials and tools․ Tighten all joints securely and check for leaks․ Use Teflon tape on threaded connections to prevent water seepage․ Ensure the tap is compatible with your plumbing system‚ including water pressure and pipe sizes․ Test the system under running water to identify and address any issues promptly;
The Cost of Fitting and Fixing Taps
Costs vary based on tap type‚ labor‚ and location․ Plumbers typically charge £60-£150 for installation‚ with extra fees for materials like pipes or fixtures‚ adding around £50․
3;1 Factors Affecting the Cost of Tap Installation
The cost of tap installation is influenced by location‚ with urban areas often charging more than rural ones․ Tap type and brand also impact price‚ as premium models cost more․ Plumbers’ rates vary based on expertise and region‚ and additional materials like pipes or fittings add to the total cost․ Labour fees typically range between £60 to £150‚ depending on complexity․
3․2 Average Costs for Tap Fitting and Repair
Average tap fitting costs range from £60 to £150‚ depending on the plumber’s rates and complexity․ Repair costs vary based on the issue‚ typically between £40 and £100․ Replacing a tap cartridge or washer may cost around £20 to £50‚ while more extensive repairs like pipe replacements can increase the total expense up to £200․ Prices exclude materials unless specified․
Identifying and Fixing Common Tap Issues
Identify tap issues like leaks‚ low water pressure‚ or discolored water․ DIY fixes include replacing worn washers or cartridges․ For complex problems‚ professional assistance may be needed․
4․1 Signs of Faulty Taps and Underlying Plumbing Problems
Recognize faulty taps by water leaks‚ low pressure‚ or unusual noises․ Discolored or cloudy water may indicate worn-out parts or plumbing issues․ A metallic smell suggests copper erosion․ Dripping taps or corroded fixtures signal worn seals or connections․ Address these signs promptly to prevent further damage and ensure proper water flow and safety․
4․2 DIY Fixes for Leaky or Damaged Taps
Fix leaky taps by turning off the water supply and using a spanner to loosen nuts․ Disconnect water lines and replace worn-out O-rings‚ gaskets‚ or washers․ Clean or replace the aerator if clogged․ For minor damage‚ apply plumber’s tape or sealant․ Reassemble carefully‚ ensuring tight connections․ Test the tap to confirm repairs․ Regular maintenance prevents further issues and extends tap longevity․
Choosing the Right Tap for Your Needs
Selecting the ideal tap involves considering water pressure‚ style preferences‚ and functionality․ Ensure compatibility with your plumbing system and desired flow rate for optimal performance and design․
5․1 Styles and Finishes to Consider
When choosing a tap‚ consider styles like modern‚ traditional‚ or minimalist designs․ Finishes such as chrome‚ brushed nickel‚ or gold can complement your kitchen or bathroom decor․ Think about durability and maintenance preferences․ Some taps feature touchless or pull-out sprayers for convenience․ Match your tap style with existing fixtures for a cohesive look‚ ensuring it aligns with your space’s aesthetic and functional needs․
5․2 Water Pressure Requirements for Different Taps
Ensure your tap matches your home’s water pressure system․ Low-pressure taps are ideal for gravity-fed systems‚ while high-pressure taps suit pressurized setups․ Some taps‚ like pull-out sprayers‚ may require higher pressure for optimal performance․ Check compatibility with your plumbing system and consider flow rate requirements for efficient water usage․ Always verify tap specifications against your water supply conditions for proper functioning․
Maintaining and Troubleshooting Taps
Regular cleaning and checking for loose parts can prevent leaks․ Troubleshoot issues like low pressure by cleaning the aerator or replacing worn washers for optimal performance․
6․1 Regular Maintenance Tips for Long-Lasting Taps
Regularly clean taps with a soft cloth and mild detergent to prevent mineral buildup․ Use vinegar to remove stubborn stains or limescale․ Check for leaks and tighten connections promptly․ Replace worn-out washers or O-rings to avoid water waste․ Avoid using abrasive cleaners or harsh chemicals‚ as they can damage finishes․ Dry taps after use to prevent water spots and maintain shine․
6․2 Troubleshooting Common Tap Problems
Identify common tap issues like leaks or low water pressure․ For leaks‚ check worn washers or O-rings and replace them․ For low pressure‚ clean or replace the aerator․ If water runs hot when cold is selected‚ inspect the cartridge or valve for damage․ Regularly check for mineral buildup in pipes or taps‚ which can cause blockages․ Address issues promptly to prevent further damage․
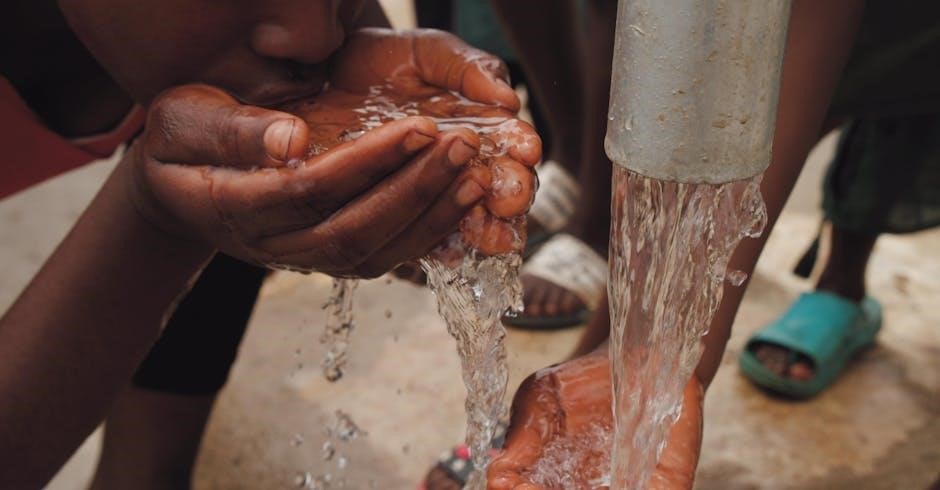
Tap Water Quality: What You Need to Know
Check your tap water for unusual colors‚ tastes‚ or odors․ Green or blue water may indicate copper pipe erosion․ Milky or cloudy water could signal plumbing issues․ Regular testing ensures safety and quality‚ while filtration systems can improve taste and remove contaminants for healthier drinking water․
7․1 Checking Your Tap Water Quality
Check your tap water by inspecting its color‚ smell‚ and taste․ Discoloration‚ like green or blue‚ may indicate pipe corrosion‚ while cloudy water could signal plumbing issues․ Test pH levels using DIY kits or professional services to ensure safety․ Regular checks help identify contaminants and ensure compliance with safety standards‚ protecting your health and improving water taste․
7․2 Solutions for Improving Tap Water Taste and Safety
Enhance tap water quality by installing filters‚ such as activated carbon or reverse osmosis systems‚ to remove impurities․ Check for contaminants like lead or chlorine and address them with appropriate filtration․ Regularly maintain plumbing systems to prevent corrosion and mineral buildup․ Consider water softeners if hardness affects taste․ Ensure all solutions comply with safety standards for clean and safe drinking water․
Outdoor Tap Installation: A Simple Guide
Install an outdoor tap by ensuring your plumbing system is adequate and flushing pipes beforehand․ Choose a convenient location‚ turn off the mains water supply‚ and prepare the area․ Use appropriate tools and materials‚ following manufacturer instructions for fitting․ Check for leaks post-installation and consider winterization for freezing temperatures․ Budget for necessary parts and tools to complete the job efficiently․
8․1 Tools and Materials Required
To install an outdoor tap‚ you’ll need a spanner‚ compression fittings‚ and possibly a drill․ Materials include copper or PVC pipes‚ outdoor-rated tap fixtures‚ and weather-resistant connectors․ Ensure you have a mains water supply connection and proper drainage․ Additional items like Teflon tape and pipe cutters may be necessary for secure connections․ Always check local plumbing regulations for compliance․
8․2 Step-by-Step Instructions for Outdoor Tap Fitting
Start by turning off the mains water supply․ Dig a trench for the water supply pipe‚ ensuring proper drainage․ Install the outdoor tap fixture‚ securing it with screws․ Connect the water supply line using compression fittings and Teflon tape․ Test the tap for leaks and ensure all connections are tight․ Finally‚ turn the water supply back on and check for proper function․
Expert Buying Guide for Taps
Choose taps based on style‚ finish‚ and water pressure needs․ Consider budget‚ durability‚ and brand reputation․ Ensure compatibility with your plumbing system for optimal performance and longevity․
9․1 Key Considerations for Selecting the Right Tap
When selecting a tap‚ consider style‚ finish‚ and water pressure compatibility․ Think about durability‚ brand reputation‚ and budget․ Ensure the tap aligns with your sink’s design and the number of holes available․ Additional features like touchless operation or pull-out sprays can enhance functionality․ Prioritize materials resistant to water spots and tarnish for long-lasting appeal and ease of maintenance․
9․2 Budgeting for Your Tap Purchase
Set a budget based on your needs and preferences․ Basic taps cost around £50-£150‚ while designer models can range from £200-£500+․ Installation costs vary‚ with plumbers charging £100-£300 depending on complexity․ Consider long-term savings from water-efficient models and durable materials․ Factor in additional expenses for accessories or repairs to ensure your purchase fits within your financial plan․
Proper tap installation and maintenance are crucial for safety‚ efficiency‚ and cost-effectiveness․ By following the guides and tips outlined‚ you can ensure your taps function optimally and last longer․ Regular checks and timely repairs prevent major issues‚ while choosing the right tap enhances your space’s functionality and aesthetics․ Invest wisely and enjoy the benefits of a well-installed and maintained tap system․